
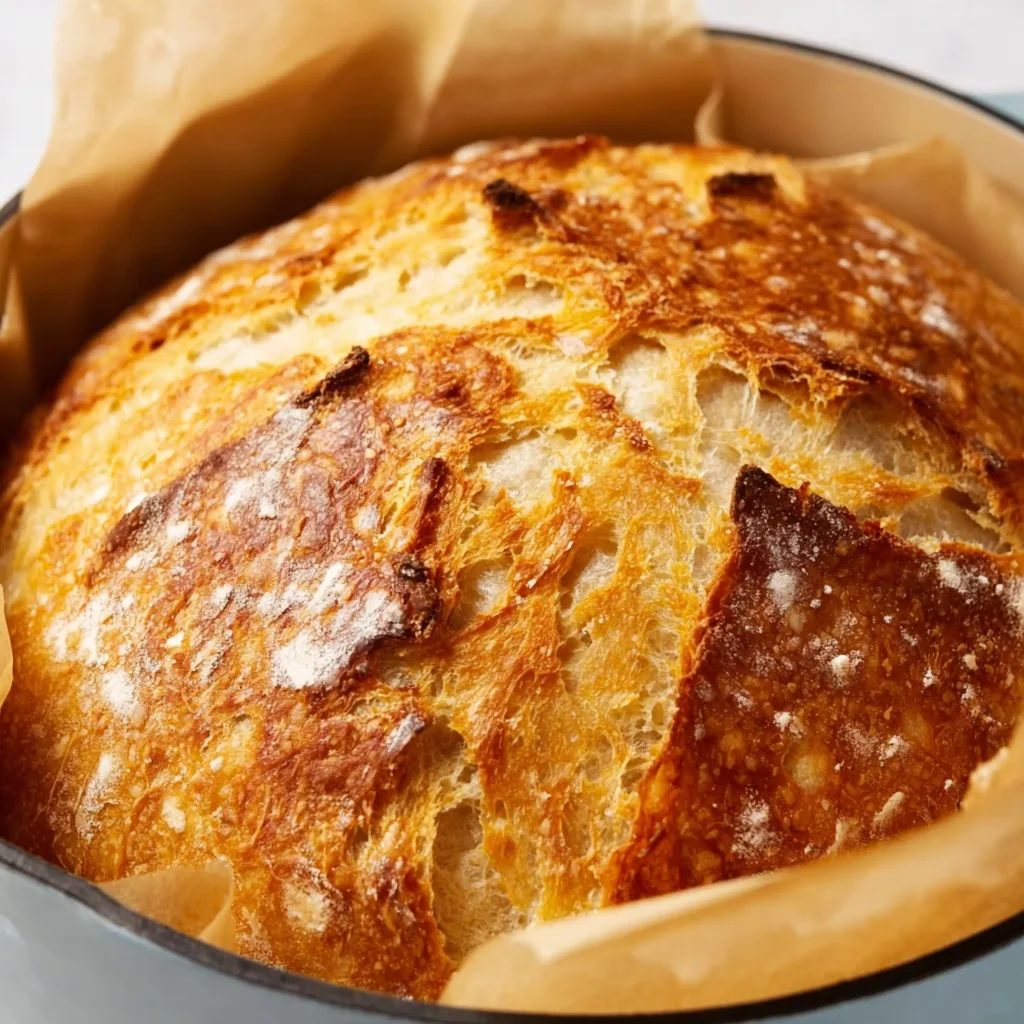
Dutch Oven No Knead Crusty Bread has completely transformed my home baking game. There’s something almost magical about combining just flour, water, yeast, and salt, then letting time do the heavy lifting. The first time I pulled that golden-brown loaf from my Dutch oven, with steam billowing out and that hollow sound when I tapped the bottom, I knew I’d discovered something special. This ridiculously simple method creates bread with a crackling crust and tender, airy interior that rivals any artisanal bakery. And the best part? Your hands stay clean while science works its magic overnight!
Table of Contents
Recipe
Print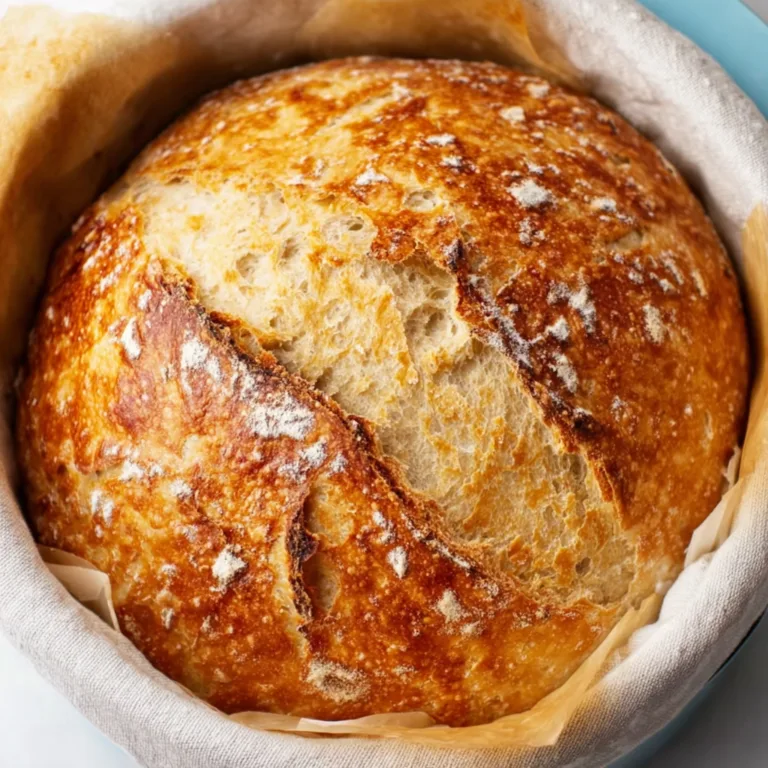
Easy Dutch Oven No-Knead Bread Recipe
This Easy Dutch Oven No-Knead Bread is perfectly crusty on the outside and soft on the inside. With minimal effort and no kneading required, you can create a bakery-style artisan loaf right at home.
- Total Time: 18 hours
- Yield: 1 loaf 1x
Ingredients
3 cups all-purpose flour
1 1/2 teaspoons salt
1/2 teaspoon instant yeast
1 1/2 cups warm water
Optional:
Extra flour for dusting
Instructions
1. In a large bowl, mix flour, salt, and yeast.
2. Add warm water and stir until a sticky dough forms.
3. Cover the bowl and let it rest at room temperature for 12–18 hours.
4. Preheat oven to 230°C (450°F) and place a Dutch oven inside to heat.
5. Transfer dough onto a floured surface and shape gently into a ball.
6. Place dough onto parchment paper.
7. Carefully place dough (with parchment) into the hot Dutch oven.
8. Cover and bake for 30 minutes.
9. Remove lid and bake for another 10–15 minutes until golden brown.
10. Let cool before slicing.
Notes
Do not skip resting time—it develops flavor and texture.
Handle dough gently to keep air bubbles.
Use a sharp knife to score the top for a bakery look.
Store at room temperature up to 2 days.
- Prep Time: 10 minutes
- Cook Time: 45 minutes
- Category: Bread
- Method: Baking
- Cuisine: Artisan
- Diet: Vegan
Nutrition
- Serving Size: 1 slice
- Calories: 120
- Sugar: 1 g
- Sodium: 200 mg
- Fat: 1 g
- Saturated Fat: 0 g
- Unsaturated Fat: 1 g
- Trans Fat: 0 g
- Carbohydrates: 24 g
- Fiber: 1 g
- Protein: 4 g
- Cholesterol: 0 mg
Keywords: no knead bread dutch oven, easy artisan bread recipe, crusty homemade bread, no knead loaf, bakery style bread at home
Why You’ll Love This Dutch Oven No Knead Crusty Bread
Foolproof for Beginners
Even if you’ve never baked bread before, this recipe welcomes you with open arms. The no-knead technique eliminates the intimidating part of bread making—no vigorous kneading or wondering if you’ve developed enough gluten. I remember being so nervous about my first loaf, but the long fermentation does all the work! The dough develops amazing flavor and structure while you sleep, and the Dutch oven creates steam naturally, giving you that professional bakery-style crust. It’s virtually impossible to mess up if you follow the simple timing.
Incredible Texture & Flavor
The slow fermentation is where the magic happens. Those 12-18 hours of resting time create complex flavors you simply can’t rush. The exterior develops that satisfying crackle that sends little crumbs scattering across your cutting board, while the interior reveals an open, airy crumb with delightful chew. I love watching my guests’ faces when they tear into a warm slice—that moment of pure bliss as they taste bread with actual flavor, not just the bland store-bought stuff. The slight tanginess from fermentation pairs beautifully with everything from salted butter to hearty stews.
Essential Tips & Tricks
Mastering the Timing
Getting the timing right makes all the difference in your bread’s final texture. I’ve found that letting the dough rest for 14-16 hours at room temperature (around 70°F) produces the perfect balance of flavor and rise. If your kitchen runs cool, place the bowl in your oven with just the light on—this creates a perfect proofing environment. The second rise after shaping is equally crucial—give it at least 1-2 hours until the dough feels puffy and no longer springs back immediately when gently poked. Rushing either fermentation stage will result in less flavor and a denser crumb.
Dutch Oven Handling
Your Dutch oven needs to be blazing hot before the dough goes in—preheat it for at least 30 minutes at 450°F. I learned the hard way that using parchment paper makes transferring the delicate dough infinitely easier! Be extremely careful when removing the hot lid—that blast of steam can cause serious burns (I still have a mark on my forearm from my early days). For the best crust, bake covered for 30 minutes to trap steam, then remove the lid for another 15-20 minutes to allow the crust to deepen to that gorgeous caramelized color.
Serving Ideas & Creative Variations
Perfect Pairings
Fresh Dutch oven bread elevates everything it touches. Slice it thick while still slightly warm and slather with salted European butter for a transcendent experience. I serve it alongside soups and stews where its sturdy texture stands up to dunking without disintegrating. It makes incredible grilled cheese sandwiches with a crisp exterior and melty interior. For breakfast, thick-cut slices transform into the most amazing French toast—the bread’s structure absorbs the custard without becoming soggy. My family goes wild when I serve it with Coconut Curry Salmon, using pieces to soak up every last drop of sauce.
Flavor Variations
Once you’ve mastered the basic recipe, the creative possibilities are endless! Add 2-3 tablespoons of seeds (sesame, poppy, flax) to the dry ingredients for texture and nutty flavor. Fold in herbs like rosemary and thyme with a handful of grated Parmesan for an Italian-inspired loaf. I love adding roasted garlic cloves and caramelized onions—the aroma while baking is absolutely intoxicating. For a sweeter version, incorporate dried cranberries and walnuts with a touch of orange zest. Each variation maintains that perfect crust while offering new flavor dimensions.
Storage & Troubleshooting Guide
Keeping Your Bread Fresh
Store your Dutch oven bread crust-side down on a cutting board for the first day—this preserves the crust’s crispness while protecting the cut surface. For longer storage, wrap in a clean kitchen towel rather than plastic, which makes the crust soggy. After day two, I slice and freeze the remainder in a ziplock bag, then toast slices as needed. This preserves that fresh-baked quality without waste. Remember that homemade bread without preservatives naturally has a shorter shelf life—embrace this as a sign of quality!
Fixing Common Problems
If your bread turns out dense with few air pockets, your dough was likely too dry or the fermentation time too short. Add an extra 2-3 tablespoons of water next time and ensure a full 14-hour first rise. For a pale, soft crust, your Dutch oven wasn’t hot enough—preheat thoroughly and make sure the lid fits tightly to trap steam. If the bottom burns before the loaf is fully baked, place a baking sheet on the rack below your Dutch oven to diffuse the heat. Remember that each kitchen environment affects fermentation differently, so keep notes and adjust accordingly.
Frequently Asked Questions
Can I use all-purpose flour instead of bread flour for Dutch Oven No Knead Crusty Bread?
Yes! All-purpose flour works well, though bread flour gives a slightly chewier texture due to higher protein content. Either will produce excellent results.
How do I know when my bread is fully baked?
The bread should be deeply golden, sound hollow when tapped on the bottom, and register around 205-210°F internally on an instant-read thermometer.
Can I add ingredients like cheese or olives to the dough?
Absolutely! Fold in up to 1 cup of mix-ins like cheese, olives, nuts, or dried fruit after the initial rise, just before shaping.
What if I don’t have a Dutch oven?
Any heavy covered pot that’s oven-safe to 450°F will work—cast iron skillets with foil, ceramic casseroles, or even a pizza stone with a metal bowl overtop.
Why did my bread spread out instead of rising up?
Your dough was likely too wet or under-proofed. Use a bit less water next time and ensure proper tension when shaping the loaf.
Final Thoughts
Dutch Oven No Knead Crusty Bread has become my signature recipe—the one friends and family constantly request. There’s something deeply satisfying about creating something so impressive with such minimal effort. The contrast between that shatteringly crisp crust and tender, airy interior creates bread that’s simply impossible to find in grocery stores. I encourage you to try this method just once—I promise it will change how you think about homemade bread forever. Find more inspiration for your baking adventures on my Pinterest board where I share all my favorite bread combinations!