
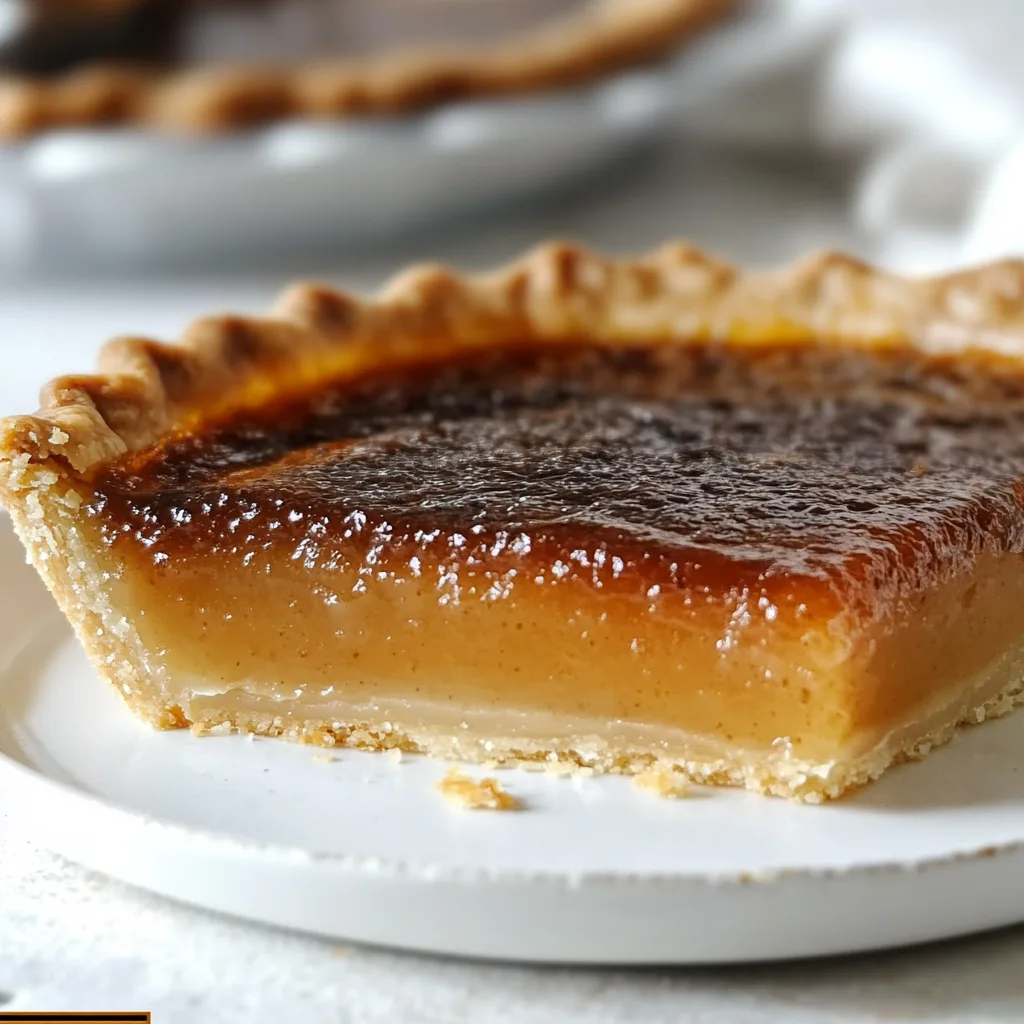
Burnt Honey Pie is a dessert that speaks to my soul on chilly autumn evenings. There’s something magical about the transformation that happens when honey caramelizes, developing deep amber notes and a complexity that regular honey just doesn’t have. The first time I made this pie, my kitchen filled with the most intoxicating aroma—sweet, toasty, and slightly floral. It reminded me of my grandmother’s kitchen during holiday baking season. This rustic yet elegant dessert combines a buttery crust with a silky custard filling that’s elevated by that signature burnt honey flavor that lingers deliciously on your palate. If you’re looking for a showstopping dessert that’s both familiar and unexpected, this is it.
Table of Contents
Recipe
Print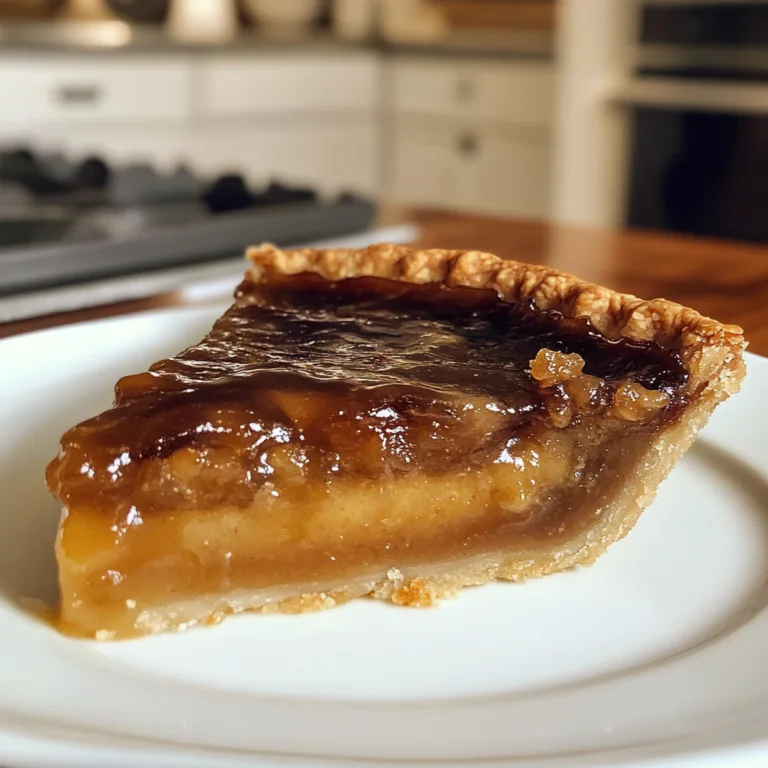
Delicious Burnt Honey Pie Recipe | Sweet & Crispy Dessert Treat
Delicious Burnt Honey Pie is a rich, custardy dessert with deep caramelized honey flavor and a crisp, crackly top. Sweet, slightly smoky, and perfectly gooey inside, this unique pie is a show-stopping treat that feels rustic and elegant all at once.
- Total Time: 1 hour 30 minutes
- Yield: 8 slices 1x
Ingredients
1 unbaked pie crust
For the burnt honey filling:
1/2 cup honey
4 tbsp unsalted butter
1/2 cup heavy cream
3/4 cup granulated sugar
2 tbsp cornmeal
1/4 tsp salt
4 large eggs
1 tsp vanilla extract
1 tbsp apple cider vinegar or lemon juice
Instructions
1. Preheat oven to 375°F (190°C).
2. Place honey in a saucepan over medium heat and cook until dark amber and fragrant.
3. Carefully whisk in butter and heavy cream until smooth. Remove from heat.
4. In a bowl, whisk sugar, cornmeal, and salt.
5. Add eggs and whisk until smooth.
6. Slowly whisk in burnt honey mixture, then add vanilla and vinegar.
7. Pour filling into the unbaked pie crust.
8. Bake for 40–45 minutes until edges are set and center is slightly jiggly.
9. Cool completely before slicing to allow pie to set.
10. Serve at room temperature or chilled.
Notes
• Watch honey closely—it darkens fast.
• Let pie cool fully for clean slices.
• Amazing with whipped cream or vanilla ice cream.
- Prep Time: 20 minutes
- Cook Time: 45 minutes
- Category: Dessert
- Method: Baking
- Cuisine: American
- Diet: Vegetarian
Nutrition
- Serving Size: 1 slice
- Calories: 460
- Sugar: 38g
- Sodium: 260mg
- Fat: 22g
- Saturated Fat: 12g
- Unsaturated Fat: 8g
- Trans Fat: 0g
- Carbohydrates: 58g
- Fiber: 1g
- Protein: 7g
- Cholesterol: 135mg
Keywords: burnt honey pie, caramelized honey dessert, unique pie recipe
Why You’ll Love This Burnt Honey Pie
A Flavor Profile Like No Other
The burnt honey is what makes this pie truly special—it’s not actually burnt, but rather carefully caramelized until it develops complex, almost butterscotch-like notes with a hint of bitterness that balances the sweetness perfectly. I love watching guests take their first bite, eyes widening as they try to place that mysterious flavor. The custard filling is silky-smooth with just the right amount of wobble, while the crust provides a satisfying contrast in texture. It’s sophisticated enough for special occasions but comforting enough for a cozy night in when you’re craving something special.
Impressive Yet Achievable
Don’t let the name intimidate you—this pie is surprisingly approachable to make. The process of burning (or rather, caramelizing) honey is actually quite forgiving and adds a touch of kitchen theater that’s fun to master. I remember being nervous my first time, but the transformation is obvious and hard to miss. The custard comes together with basic pantry ingredients, and the make-ahead potential is excellent. You can prepare components in stages if you’re short on time, and the finished pie actually benefits from an overnight chill, making it perfect for entertaining when you want to minimize day-of stress.
Essential Tips & Tricks
Mastering the Burnt Honey
The key to this recipe is getting the honey to the perfect stage of caramelization. Use a heavy-bottomed saucepan and watch it carefully—you want it to turn a deep amber color and smell toasty, but not acrid or bitter. I find it helpful to have a bowl of ice water nearby to plunge the bottom of the pan into if it starts darkening too quickly. Temperature control is crucial; medium heat is usually perfect. Don’t walk away during this process! It typically takes 3-5 minutes once the honey starts bubbling, and those last few moments transform it from golden to perfectly caramelized in seconds.
Creating the Perfect Custard
For a silky-smooth filling, temperature matters at every stage. Allow your dairy to come to room temperature before mixing, and strain your custard through a fine-mesh sieve to catch any bits of cooked egg. When baking, use a water bath (bain-marie) to ensure gentle, even heating that prevents curdling. I once skipped this step and ended up with a curdled mess! The pie is done when the edges are set but the center still has a slight wobble, similar to how cheesecake should jiggle. Remember that residual heat will continue cooking the custard after you remove it from the oven.
Serving Ideas & Creative Variations
Perfect Pairings
This pie shines when served with thoughtfully chosen accompaniments. A dollop of lightly whipped cream with just a hint of vanilla balances the richness beautifully. For a more dramatic presentation, try a brûléed topping—just sprinkle the cooled pie with sugar and torch until caramelized. Fresh berries add a welcome brightness, particularly tart ones like raspberries or blackberries. For a cozy autumn feel, serve slightly warm with a scoop of cinnamon ice cream. I love to finish each slice with a light sprinkle of flaky sea salt to enhance all those caramel notes.
Seasonal Adaptations
The versatile base recipe welcomes seasonal variations. In summer, add a tablespoon of lavender buds steeped in the warm cream for a floral note that complements the honey beautifully. For fall, incorporate warming spices like cinnamon, cardamom, and nutmeg, similar to my Cinnamon Sugar Soft Pretzels. Winter calls for a splash of bourbon in the filling and some orange zest. Spring begs for a hint of lemon zest and a few fresh thyme leaves. You can also play with the crust—try a graham cracker or gingersnap base for a different textural experience that pairs wonderfully with the honey flavors.
Storage & Troubleshooting Guide
Keeping Your Pie Fresh
This pie stores beautifully in the refrigerator for up to 4 days. Cover loosely with foil rather than plastic wrap to prevent condensation from making the crust soggy. For the best texture, remove from the refrigerator about 30 minutes before serving to take the chill off. If you need to make it further ahead, you can freeze the baked and cooled pie for up to 1 month—wrap it tightly in a double layer of plastic wrap and then foil. Thaw overnight in the refrigerator before serving. The crust may soften slightly after freezing, but a few minutes in a 350°F oven will help crisp it up.
Solving Common Issues
If your filling cracks, it’s likely been overbaked or cooled too quickly. Next time, remove the pie when the center still has a slight wobble and cool gradually at room temperature before refrigerating. For a weeping custard (where liquid separates), the likely culprit is overcooking the eggs in the custard mixture. Use a thermometer to ensure you don’t exceed 180°F when heating the custard base. If your burnt honey tastes bitter rather than complex, it was likely taken too far. The good news is you can dilute it with a bit more regular honey to balance the flavors before adding it to your custard.
Frequently Asked Questions
What exactly is “burnt” honey?
It’s honey that’s been carefully caramelized until it develops complex, deep flavors—not actually burnt but cooked until it reaches an amber color with toasty notes.
Can I make Burnt Honey Pie ahead of time?
Absolutely! It actually improves with an overnight chill, making it perfect for preparing 1-2 days before serving.
What’s the best honey to use for this recipe?
A mild, high-quality honey works best as it allows the caramelization flavors to shine without competing notes.
How do I know when my custard is properly set?
The edges should be firm while the center maintains a slight wobble—similar to gelatin that’s just set.
Can I use a store-bought crust for Burnt Honey Pie?
Yes, though homemade provides better texture. If using store-bought, blind bake it first for the best results.
Final Thoughts
Burnt Honey Pie has become one of my signature desserts, earning its place at holiday tables and special celebrations. There’s something deeply satisfying about transforming simple ingredients into something so remarkable. The balance of flavors—sweet, toasty, creamy, with that hint of complexity from the burnt honey—creates a dessert that feels both nostalgic and novel. I hope you’ll give this recipe a try and experience the magic for yourself. Don’t forget to check out my Pinterest board for more dessert inspiration that pairs beautifully with this unforgettable pie!