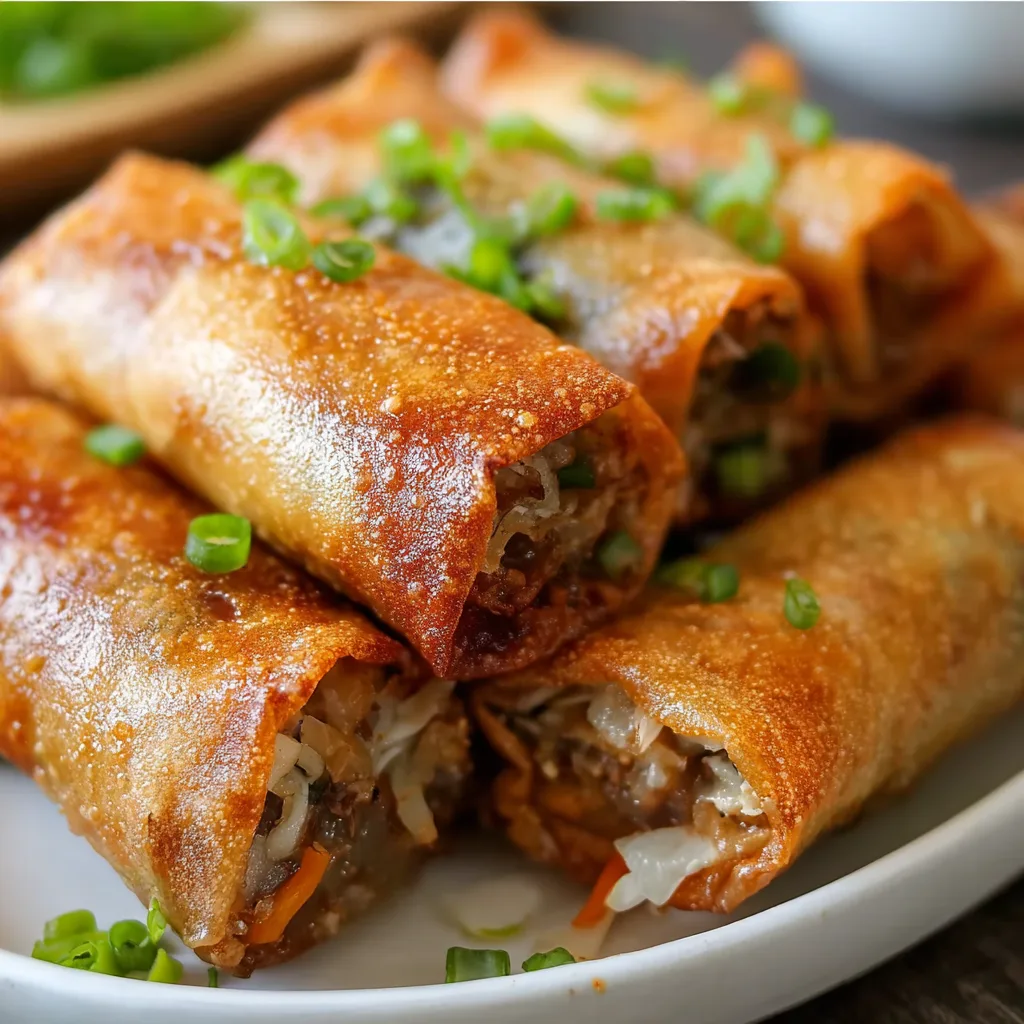
Crispy Homemade Chicken Spring Rolls have become my weekend ritual, transforming ordinary family dinners into something special. There’s something magical about that first bite—the satisfying crunch of the wrapper giving way to juicy, seasoned chicken and vibrant vegetables. I still remember the first time I made these for my sister’s birthday gathering; the entire batch disappeared within minutes! Perfect as appetizers or paired with a hearty soup for a complete meal, these spring rolls strike the ideal balance between impressive presentation and surprisingly simple preparation. Let me show you how to create these irresistible handheld delights that’ll have everyone reaching for seconds.
Table of Contents
Recipe
Print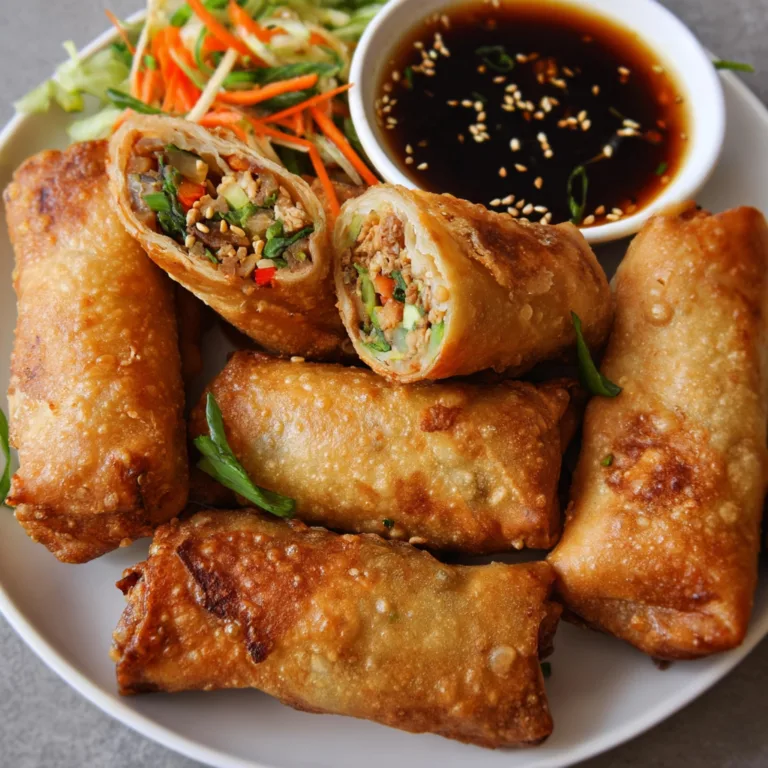
Crispy Homemade Chicken Spring Rolls Recipe
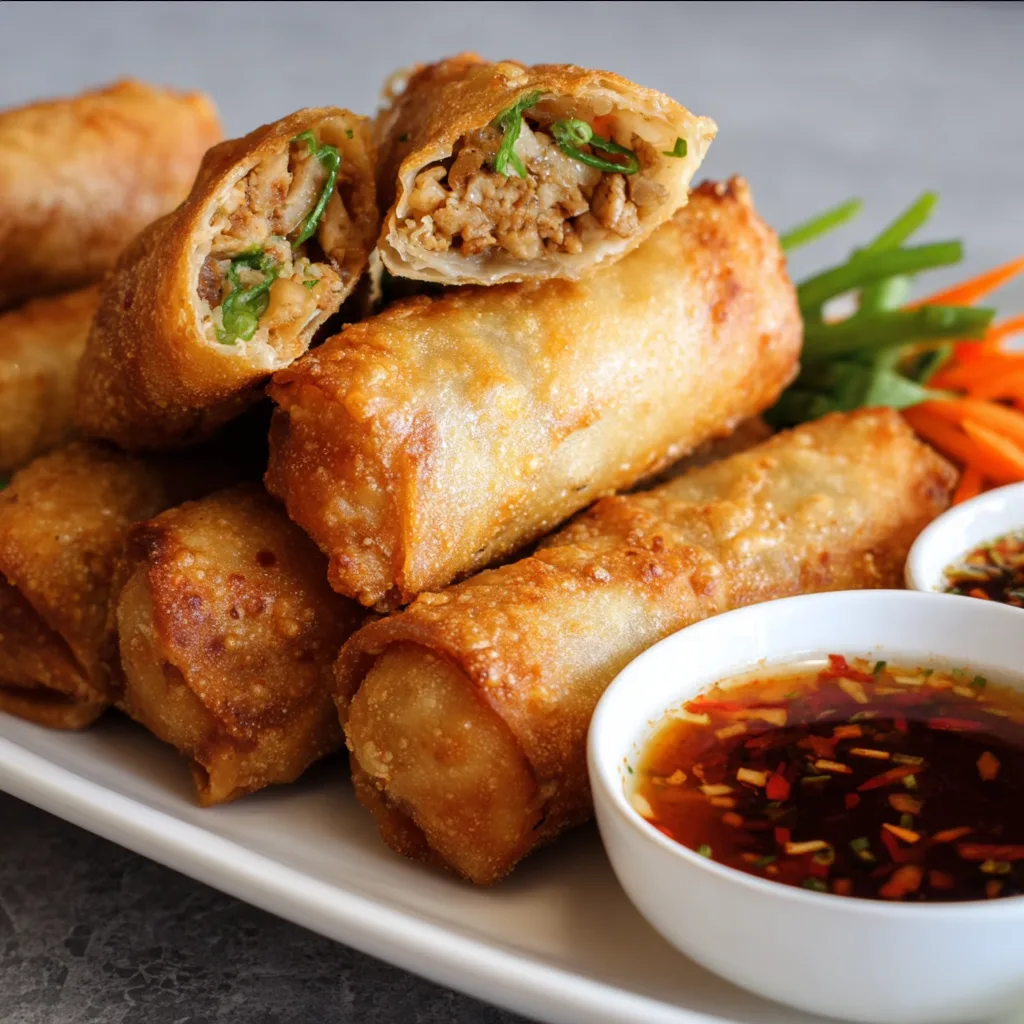
These crispy homemade chicken spring rolls are golden, crunchy, and bursting with flavor. Filled with seasoned chicken and fresh veggies, they’re easy to roll and fry at home—perfect for parties, snacks, or a light meal with dipping sauce.
- Total Time: 35 minutes
- Yield: 12 spring rolls 1x
Ingredients
🟡 For the Filling:
1 tbsp oil (sesame or vegetable)
2 cups shredded cooked chicken
1 cup shredded cabbage
1/2 cup shredded carrots
2 green onions, thinly sliced
1 tbsp soy sauce
1 tsp garlic powder
1/2 tsp ground ginger
🟡 For the Spring Rolls:
12 spring roll wrappers (thawed if frozen)
1 egg, beaten (for sealing)
Vegetable oil, for frying
🟡 Optional:
Sweet chili sauce or soy sauce for dipping
Instructions
1. In a skillet over medium heat, heat 1 tbsp oil.
2. Add chicken, cabbage, carrots, green onions, soy sauce, garlic powder, and ginger. Cook for 3–4 minutes until veggies soften slightly. Let cool.
3. Lay out a spring roll wrapper with a corner facing you. Add 2 tablespoons of filling near the bottom.
4. Fold the bottom corner over the filling, then fold in the sides and roll up tightly. Brush the top corner with beaten egg to seal.
5. Repeat with remaining wrappers and filling.
6. Heat 1–2 inches of oil in a deep skillet to 350°F (175°C).
7. Fry spring rolls in batches for 2–3 minutes per side or until golden and crispy.
8. Drain on paper towels. Serve hot with your favorite dipping sauce.
Notes
Make ahead tip: freeze uncooked spring rolls and fry from frozen when needed.
Try air frying at 375°F for 8–10 minutes, flipping halfway.
Add glass noodles or mushrooms to customize the filling.
- Prep Time: 25 minutes
- Cook Time: 10 minutes
- Category: Appetizer
- Method: Frying
- Cuisine: Asian-Inspired
Nutrition
- Serving Size: 1 spring roll
- Calories: 150
- Sugar: 1g
- Sodium: 240mg
- Fat: 8g
- Saturated Fat: 2g
- Unsaturated Fat: 5g
- Trans Fat: 0g
- Carbohydrates: 13g
- Fiber: 1g
- Protein: 8g
- Cholesterol: 25mg
Keywords: chicken spring rolls, crispy appetizer recipe, homemade spring rolls
Why You’ll Love These Crispy Homemade Chicken Spring Rolls
Perfect Texture Contrast
The ultimate texture experience is what makes these spring rolls unforgettable. The exterior develops a gorgeous golden-brown crispness that audibly shatters when bitten, while the interior remains tender and juicy. I’ve found that patting the filling ingredients dry before assembly prevents sogginess—a game-changing technique! The combination of finely shredded cabbage, carrots, and bell peppers creates delightful textural layers that complement the chicken. When you take that first bite and hear that distinctive crackle, you’ll understand why I’m so obsessed with getting the texture just right.
Make-Ahead Convenience
These spring rolls are a meal prepper’s dream! You can prepare the filling up to two days ahead and store it in an airtight container in the refrigerator. The assembled uncooked rolls can be frozen for up to three months—just place them in a single layer on a baking sheet, freeze until solid, then transfer to freezer bags. This makes them perfect for unexpected guests or busy weeknights when cooking from scratch feels impossible. I often make a double batch on Sunday afternoons, frying half for dinner and freezing the rest for those nights when I need something delicious without the effort.
Essential Tips & Tricks
Mastering the Wrapper Technique
The secret to leak-proof rolls lies in how you handle the wrappers. Keep unused wrappers covered with a damp paper towel to prevent drying out while you work. When wrapping, place about 1½ tablespoons of filling on the lower third of the wrapper, fold the bottom over the filling, then fold in the sides and roll tightly upward. Seal the edge with a paste made from 1 tablespoon flour mixed with 2 tablespoons water. This creates a secure seal that won’t burst during frying. I learned this technique after several frustrating experiences with spring rolls that unraveled in the oil!
Achieving the Perfect Fry
For that restaurant-quality crispness, maintain your oil temperature between 350-375°F. Too cool, and your spring rolls absorb excess oil; too hot, and they’ll burn before cooking through. Work in small batches of 4-5 rolls at a time to avoid crowding and temperature drops. Flip them occasionally for even browning, and once golden, transfer to a wire rack instead of paper towels—this prevents steam from softening that beautiful crisp exterior. I use a candy thermometer to monitor the oil temperature precisely, which has transformed my frying results.
Serving Ideas & Creative Variations
Dipping Sauce Pairings
The right dipping sauce elevates these spring rolls from delicious to absolutely unforgettable. My classic trio includes sweet chili sauce, peanut sauce with a hint of lime, and a simple soy-ginger dip with scallions. For a crowd-pleasing presentation, serve all three in small individual bowls arranged on a platter with the spring rolls. The sweet-spicy-savory combination offers something for everyone. When hosting game nights, I’ve noticed the sweet chili sauce disappears first, but the peanut sauce creates the most conversation—everyone wants the recipe! Experiment with adding sriracha or honey to customize heat and sweetness levels.
Global Fusion Adaptations
Transform these spring rolls by exploring international flavor profiles. For a Mediterranean twist, substitute the filling with diced chicken, feta, spinach, and sun-dried tomatoes, then serve with tzatziki. Try a Mexican-inspired version with shredded chicken tossed in taco seasoning, corn, black beans, and pepper jack cheese, paired with avocado dip. For an Indian variation, fill with curry-spiced chicken, peas, and potatoes, serving with mango chutney. These adaptations keep the concept fresh and exciting, perfect for themed dinner parties or when you’re craving something different but familiar.
Storage & Troubleshooting Guide
Keeping Leftovers Crispy
Maintaining that signature crunch with leftover spring rolls requires proper storage and reheating. Allow cooked spring rolls to cool completely before storing in an airtight container with paper towels between layers to absorb moisture. Refrigerate for up to 3 days. To reheat, avoid the microwave which creates sogginess. Instead, place them on a wire rack in a 350°F oven for 8-10 minutes until heated through and re-crisped. For an even quicker solution, a few minutes in an air fryer at 350°F works wonders, restoring that fresh-fried texture without additional oil.
Solving Common Problems
The most frequent issue is spring rolls splitting during frying. This usually happens because the wrappers have dried out or the rolls were overfilled. Keep your work surface clean and slightly damp, and limit filling to 1½ tablespoons per wrapper. If rolls are absorbing too much oil, your frying temperature is likely too low—invest in a thermometer for precision. For rolls that unravel, ensure you’re sealing the edges properly with the flour paste. If your filling seems watery after cooking, pre-cook vegetables briefly and drain well before mixing with the chicken to remove excess moisture.
Frequently Asked Questions
Can I make Crispy Homemade Chicken Spring Rolls in an air fryer?
Yes! Spray lightly with oil, air fry at 380°F for 8-10 minutes, flipping halfway. They won’t be quite as crispy as deep-fried but still delicious with significantly less oil.
Can I use pre-cooked rotisserie chicken?
Absolutely! Shred it finely and mix with your vegetables and seasonings. This saves time and works perfectly for quick weeknight preparation.
How do I prevent my spring rolls from becoming soggy?
Ensure all filling ingredients are patted dry before assembly. Don’t overfill the wrappers, and make sure your oil is hot enough (350-375°F) when frying.
Can I prepare these spring rolls without meat?
Yes, substitute the chicken with extra firm tofu (pressed and crumbled), mushrooms, or additional vegetables like shredded zucchini for a vegetarian version.
How far in advance can I make the filling?
The filling can be prepared up to 2 days ahead and stored in an airtight container in the refrigerator. This makes assembly much quicker when you’re ready to cook.
Final Thoughts
These Crispy Homemade Chicken Spring Rolls have become more than just a recipe in my kitchen—they’re a celebration of flavors and textures that bring people together. The beauty lies in their versatility and the joy they bring to any table. Whether you’re serving them as party appetizers or enjoying them as a family meal, the delightful crunch and savory filling create an experience worth sharing. Don’t be surprised if these become your most requested dish! For more inspiration and variations, check out my Pinterest board where I’m constantly adding new spring roll ideas.