
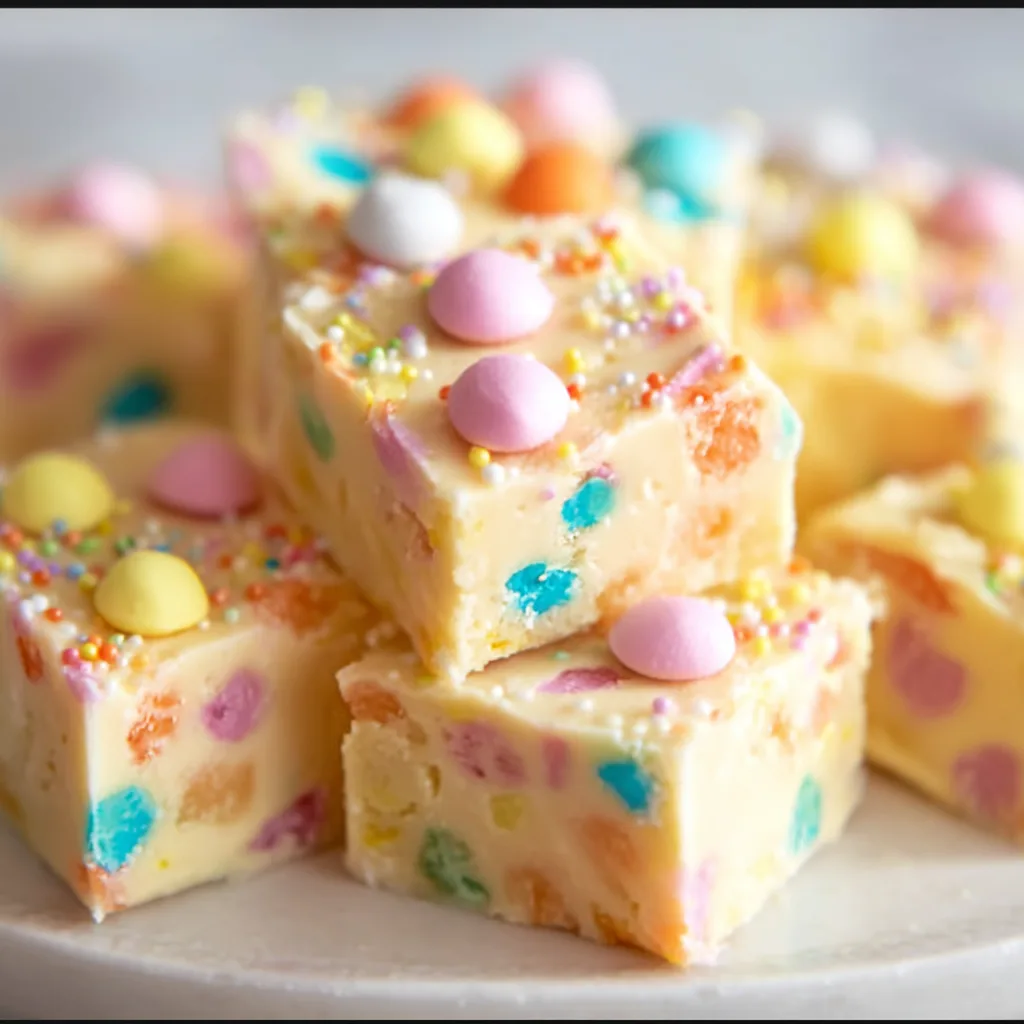
The first time I made this no-bake Easter fudge, I swear it vanished faster than a chocolate bunny on Easter morning. My nephew, usually a picky eater, devoured a piece and immediately asked for "more of that magic stuff!" It’s truly an irresistible treat, especially when you need something quick and dangerously addictive for holiday gatherings. Get ready to impress everyone with minimal effort, because this recipe is about to become your new springtime obsession. Trust me, this won't last long.
Why You'll Love This no-bake Easter Fudge
Pure, Undiluted Comfort in Every Bite
There’s something incredibly comforting about a rich, creamy piece of fudge, and this no-bake Easter fudge delivers just that. It melts in your mouth, leaving behind a wave of sweet, nostalgic flavor that reminds you of childhood holidays. Imagine sinking your teeth into a square that’s both smooth and packed with delightful Easter candy bits. It's the perfect sweet escape after a long day, or a delightful surprise to brighten someone’s afternoon. This is seriously addictive.
Effortless Elegance for Busy Celebrations
Easter can be a whirlwind of preparations, but your dessert doesn't have to add to the stress. This recipe is a lifesaver for those moments when you want something insanely good without spending hours in the kitchen. No oven time means more time to enjoy your family and less time worrying about baking. It’s an easy, elegant solution that looks impressive but is secretly super simple to make. You’ll be craving this again.
Essential Tips & Tricks
Mastering the Melt: The Secret to Smooth Fudge
Achieving that perfectly creamy texture for your no-bake Easter fudge is all about the melt. Use a heavy-bottomed saucepan over medium-low heat to ensure even heating and prevent scorching. Stir continuously until the ingredients are fully combined and smooth. An expert tip: if your mixture seems too thick, a tiny splash of milk (about half a teaspoon) can help loosen it without compromising the set. Don't rush this step; patience here truly pays off with a superior texture.
Chill Out: The Key to a Perfect Set
Once your fudge mixture is ready, proper chilling is crucial for achieving that ideal firm yet tender consistency. Line your pan with parchment paper, leaving an overhang to easily lift the fudge out later. Press the mixture evenly into the pan, then refrigerate for at least 2-3 hours, or until completely firm. For an even faster set, you can place it in the freezer for about 30-45 minutes. A well-chilled fudge ensures clean, beautiful slices every single time. Everyone will ask for this recipe.
Serving Ideas & Variations
A Canvas for Easter Creativity
This no-bake Easter fudge is truly a versatile base, ready for all your springtime creativity! Imagine adding pastel-colored sprinkles, mini chocolate eggs, or even chopped up Cadbury Easter Egg Cupcakes for an extra layer of chocolatey goodness. For a vibrant twist, consider swirling in some melted white chocolate dyed with food coloring for a marbled effect. You can even press a whole mini egg into the top of each square before it sets for a delightful surprise.
Beyond the Classic: Flavorful Twists
While the classic version is crave-worthy, don't be afraid to experiment with exciting variations. Try adding a hint of peppermint extract for a mint chocolate fudge, or a touch of almond extract for a nutty depth. Swirl in some melted peanut butter for a rich, gooey peanut butter swirl. You could even fold in crushed Easy Sopapilla Cheesecake Bars for a unique cinnamon-sugar crunch. This fudge is your playground; let your imagination run wild!
Storage & Troubleshooting
Keeping Your Fudge Fresh and Fabulous
To keep your no-bake Easter fudge at its best, proper storage is key. Once sliced, store the fudge in an airtight container at room temperature for up to 3-4 days. For longer freshness, you can refrigerate it for up to 2 weeks. Just be sure to let it come closer to room temperature before serving for the best, most creamy texture. This simple step ensures every piece tastes as good as the first, making it perfect for preparing ahead.
Common Fudge Fixes for Perfect Results
Encountering a challenge with your fudge? Don't fret! If your fudge is too soft, it likely needs more chilling time or a bit more powdered sugar was required during the initial mixing. Pop it back in the fridge or freezer. If it's too crumbly, your mixture might have been overheated or not enough liquid was incorporated. Gently reheat with a tiny splash of milk and stir until smooth. These quick fixes mean your irresistible treat is always rescued!
Frequently Asked Questions
Can I make this no-bake Easter fudge ahead of time?
Absolutely! This fudge is perfect for making in advance. You can prepare it up to a week before your Easter celebration and store it in an airtight container in the refrigerator.
What kind of Easter candy works best in this fudge?
Mini chocolate eggs, pastel M&Ms, chopped crème eggs, or even crushed chocolate bunnies work wonderfully. Choose your favorite colorful candies to make your no-bake Easter fudge extra festive!
Can I freeze this fudge?
Yes, you can! Wrap the fudge tightly in plastic wrap and then foil, and store it in the freezer for up to 2 months. Thaw in the refrigerator overnight before serving.
How do I get clean cuts when slicing fudge?
For perfectly clean slices, use a sharp, warm knife. Run the knife under hot water, wipe it dry, and then slice. Repeat this process for each cut to prevent sticking.
Is there a dairy-free alternative for this recipe?
You can substitute dairy milk with unsweetened almond or oat milk, and use dairy-free butter and chocolate chips. The texture will be slightly different but still delicious.
Final Thoughts
Making this no-bake Easter fudge is more than just whipping up a dessert; it’s about creating moments of joy and sweet indulgence with minimal fuss. From its creamy, dreamy texture to the vibrant pop of Easter candies, every bite is a celebration of springtime. This recipe is not just easy; it’s a foolproof way to bring smiles to everyone's faces. So go ahead, treat yourself and your loved ones to this irresistible confection. It’s the kind of treat that makes memories, and honestly, you deserve every last gooey piece. For more delicious inspiration, check out my Pinterest board at https://www.pinterest.com/Elliemarenrecipe/.