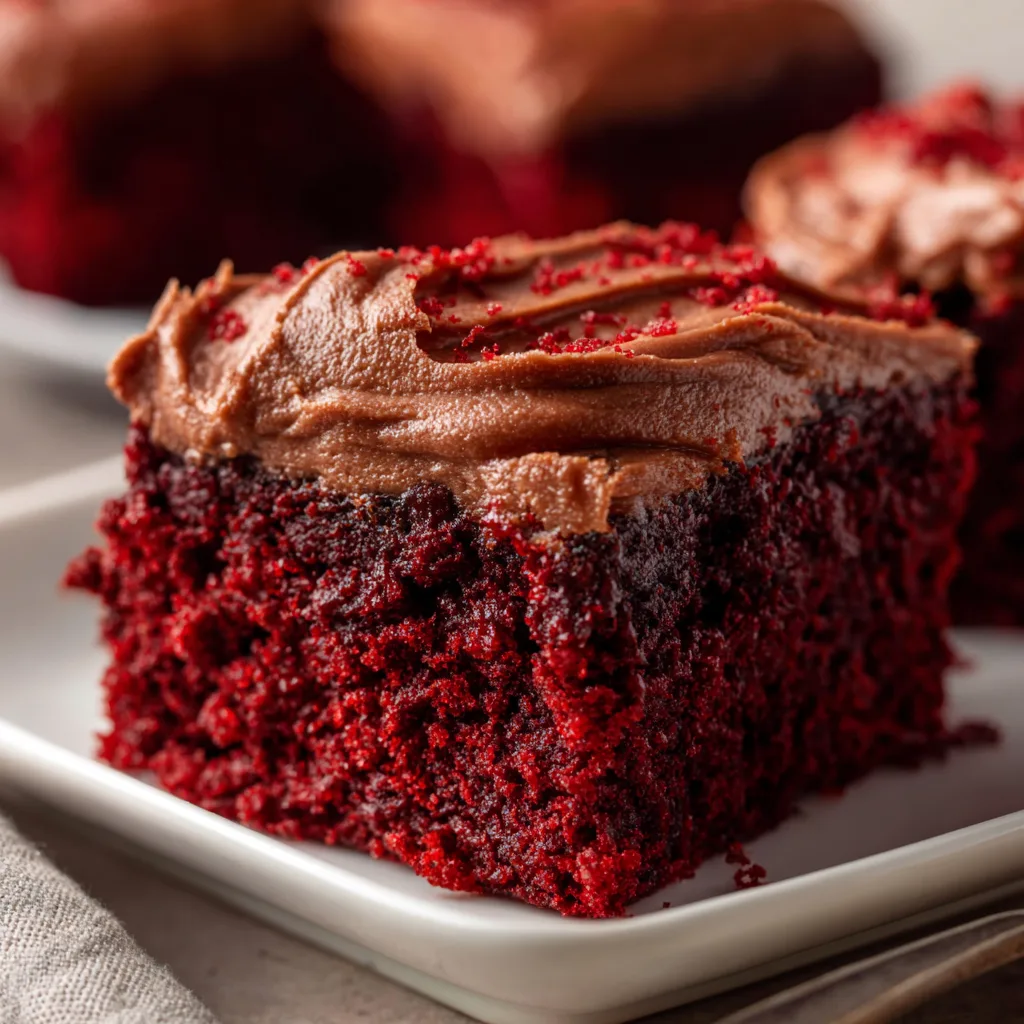
These Red Velvet Brownies with Chocolate Frosting are my absolute weakness – velvety, rich, and utterly irresistible. The first time I made these for my sister’s birthday gathering, everyone fell silent mid-conversation as they took their first bites. That deep crimson base with its subtle cocoa notes paired with silky chocolate frosting creates pure magic on your taste buds. It’s the perfect balance of chocolatey indulgence with that signature red velvet tang. I’ve tweaked this recipe countless times to get that perfect fudgy-yet-cakey texture that makes you close your eyes with each bite.
Table of Contents
Recipe
Print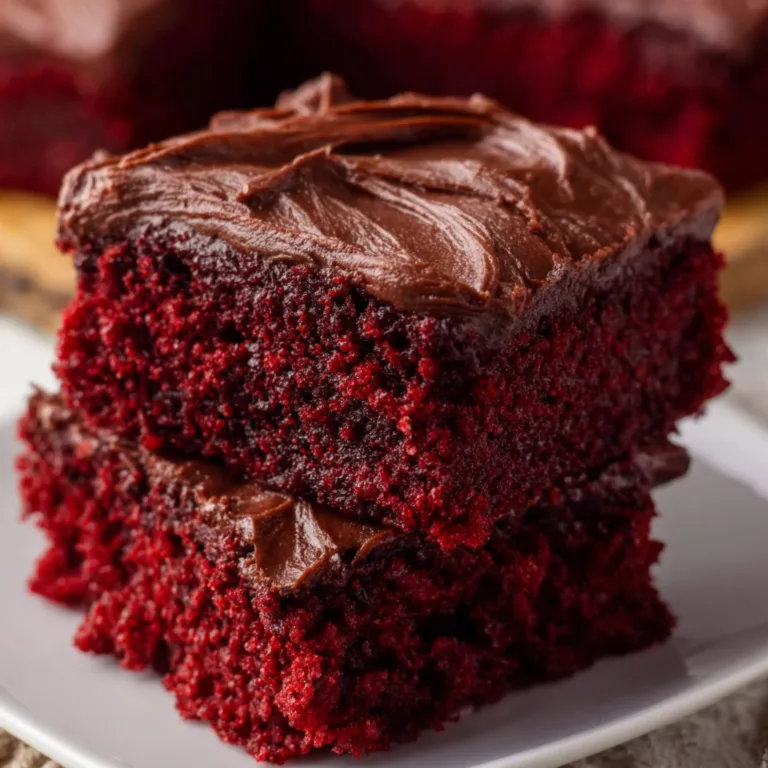
Decadent Red Velvet Brownies with Rich Chocolate Frosting Recipe
These decadent red velvet brownies are ultra-rich, fudgy, and topped with a silky chocolate frosting. With their striking color and luscious texture, they’re a perfect indulgent treat for Valentine’s Day or any special occasion.
- Total Time: 1 hr
- Yield: 16 brownies 1x
Ingredients
For the brownies:
1/2 cup unsalted butter, melted
1 cup granulated sugar
2 large eggs
1 tsp vanilla extract
1 tbsp red food coloring
1/3 cup unsweetened cocoa powder
3/4 cup all-purpose flour
1/4 tsp salt
For the chocolate frosting:
1/4 cup unsalted butter, softened
2 tbsp unsweetened cocoa powder
1 cup powdered sugar
2–3 tbsp milk
1/2 tsp vanilla extract
Instructions
1. Preheat oven to 350°F (175°C). Line an 8×8-inch baking pan with parchment paper.
2. In a large bowl, whisk together melted butter and sugar until combined.
3. Add eggs, vanilla, and red food coloring. Mix well.
4. Sift in cocoa powder, flour, and salt. Stir until just combined—do not overmix.
5. Pour batter into the pan and smooth the top. Bake for 25–28 minutes or until a toothpick comes out with a few moist crumbs. Cool completely.
6. To make the frosting, beat butter and cocoa powder until smooth. Gradually mix in powdered sugar, milk, and vanilla until fluffy and spreadable.
7. Frost cooled brownies and slice into squares.
Notes
Don’t overbake to keep the brownies fudgy.
Chill before slicing for clean cuts.
Top with chocolate shavings or sprinkles for a festive look.
- Prep Time: 15 mins
- Cook Time: 28 mins
- Category: Dessert
- Method: Baking
- Cuisine: American
- Diet: Vegetarian
Nutrition
- Serving Size: 1 brownie
- Calories: 260
- Sugar: 24g
- Sodium: 90mg
- Fat: 14g
- Saturated Fat: 8g
- Unsaturated Fat: 6g
- Trans Fat: 0g
- Carbohydrates: 32g
- Fiber: 1g
- Protein: 2g
- Cholesterol: 55mg
Keywords: red velvet brownies, chocolate frosting brownies, fudgy red velvet dessert, easy red velvet bars
Why You’ll Love This Red Velvet Brownies with Chocolate Frosting
Perfect Texture & Flavor Combination
These brownies hit that sweet spot between cake and fudge that makes red velvet so special. The buttermilk in the batter creates that signature tanginess while keeping everything incredibly moist. I’ve found that using high-quality cocoa powder makes a world of difference – it gives these brownies that subtle chocolate flavor without overpowering the delicate red velvet taste. The real magic happens when the creamy frosting meets that slightly tangy base, creating a flavor harmony that’s absolutely worth the calories!
Impressive Yet Simple to Make
Don’t let their stunning appearance fool you – these brownies are surprisingly straightforward to make. The one-bowl method for the brownie base keeps things simple, while the frosting comes together in minutes. I remember panicking when I needed a last-minute dessert for a dinner party, and these saved the day! The vibrant color makes them look like you spent hours in the kitchen, but they’re actually perfect for beginners. Just be sure to let them cool completely before frosting – patience yields that perfect clean-cut look.
Essential Tips & Tricks
Getting That Perfect Red Color
The key to achieving that gorgeous deep red without using an entire bottle of food coloring is balancing your ingredients properly. I use gel food coloring rather than liquid for more intense color with less product. The natural reaction between cocoa powder, vinegar, and buttermilk also enhances the red hue. My neighbor once used regular food coloring and needed triple the amount! For a natural alternative, try beetroot powder – it adds a subtle earthy flavor that complements the chocolate beautifully, just like in these Raspberry Sugar Cookies.
Achieving the Ideal Brownie Texture
The secret to perfectly textured red velvet brownies is not overmixing once the flour is added. I gently fold rather than vigorously stir to maintain that delicate crumb. Another game-changer is checking for doneness early – these brownies should still have a slight jiggle in the center when you remove them from the oven. They’ll continue cooking as they cool. I once overbaked a batch, and while still delicious, they lost that signature melt-in-your-mouth quality that makes these truly special.
Serving Ideas & Creative Variations
Elegant Presentation Options
Transform these brownies into a showstopping dessert with a few simple touches. I love cutting them into perfect squares and placing each on a small dollop of cream cheese whipped cream. For special occasions, dust the plate with cocoa powder or add fresh berries for a pop of color. Last Valentine’s Day, I arranged them in a heart shape on a serving platter and watched my guests’ eyes light up! These pair beautifully with coffee or champagne, making them perfect for everything from casual gatherings to elegant dinner parties.
Delicious Flavor Twists
While classic red velvet brownies are divine, experimenting with variations can create exciting new flavors. Try adding cream cheese swirls through the batter before baking for a cheesecake-like element. White chocolate chips folded into the mix create delightful pockets of sweetness. For a more sophisticated flavor profile, consider adding espresso powder to the frosting – it enhances the chocolate notes beautifully, similar to how coffee amplifies chocolate in my Texas Chocolate Pecan Pie recipe.
Storage & Troubleshooting Guide
Keeping Brownies Fresh
To maintain that perfect texture and flavor, store these red velvet brownies in an airtight container at room temperature for up to 3 days. The frosting sets just enough to allow stacking with parchment paper between layers. For longer storage, refrigerate for up to a week – just bring to room temperature before serving to restore that fudgy texture. I’ve found that freezing unfrosted brownies works beautifully for up to 3 months; simply thaw overnight and add fresh frosting for that just-baked taste.
Fixing Common Problems
If your brownies turn out too cakey, you likely overbeated the eggs or used too much leavening agent. For fudgier results, reduce your baking time by 2-3 minutes and chill completely before cutting. Frosting sliding off? Your brownies weren’t cool enough before frosting – pop them in the refrigerator for 20 minutes first. For brownies that sink in the middle, your oven temperature was probably too high – invest in an oven thermometer for accuracy. I once rescued sunken brownies by filling the depression with extra frosting and calling them “frosting wells” – they were the first to disappear!
Frequently Asked Questions
Can I make Red Velvet Brownies with Chocolate Frosting without food coloring?
Yes! Use 2-3 tablespoons of beetroot powder instead of food coloring. The brownies will have a more natural, slightly less vibrant red color but maintain that classic flavor.
How do I know when the brownies are done baking?
A toothpick inserted in the center should come out with a few moist crumbs but no wet batter. The edges will be set but the center should still look slightly underdone.
Can I use a different frosting?
Absolutely! Cream cheese frosting is traditional for red velvet, but ganache or white chocolate frosting also pairs beautifully with these brownies.
Why did my brownies turn out cakey instead of fudgy?
Overmixing the batter or adding too much flour can create a cakey texture. Measure ingredients precisely and mix just until combined.
Can these brownies be made gluten-free?
Yes, substitute a 1:1 gluten-free flour blend. The texture may be slightly different, but they’ll still be delicious with minimal recipe adjustments.
Final Thoughts
These Red Velvet Brownies with Chocolate Frosting have become my signature dessert for good reason. They strike that perfect balance between impressive and achievable, making everyday moments feel special. The contrast between the vibrant brownie base and rich chocolate topping creates a dessert that’s as beautiful as it is delicious. I’d love to see your creations if you make these – tag me on Pinterest so I can admire your work!