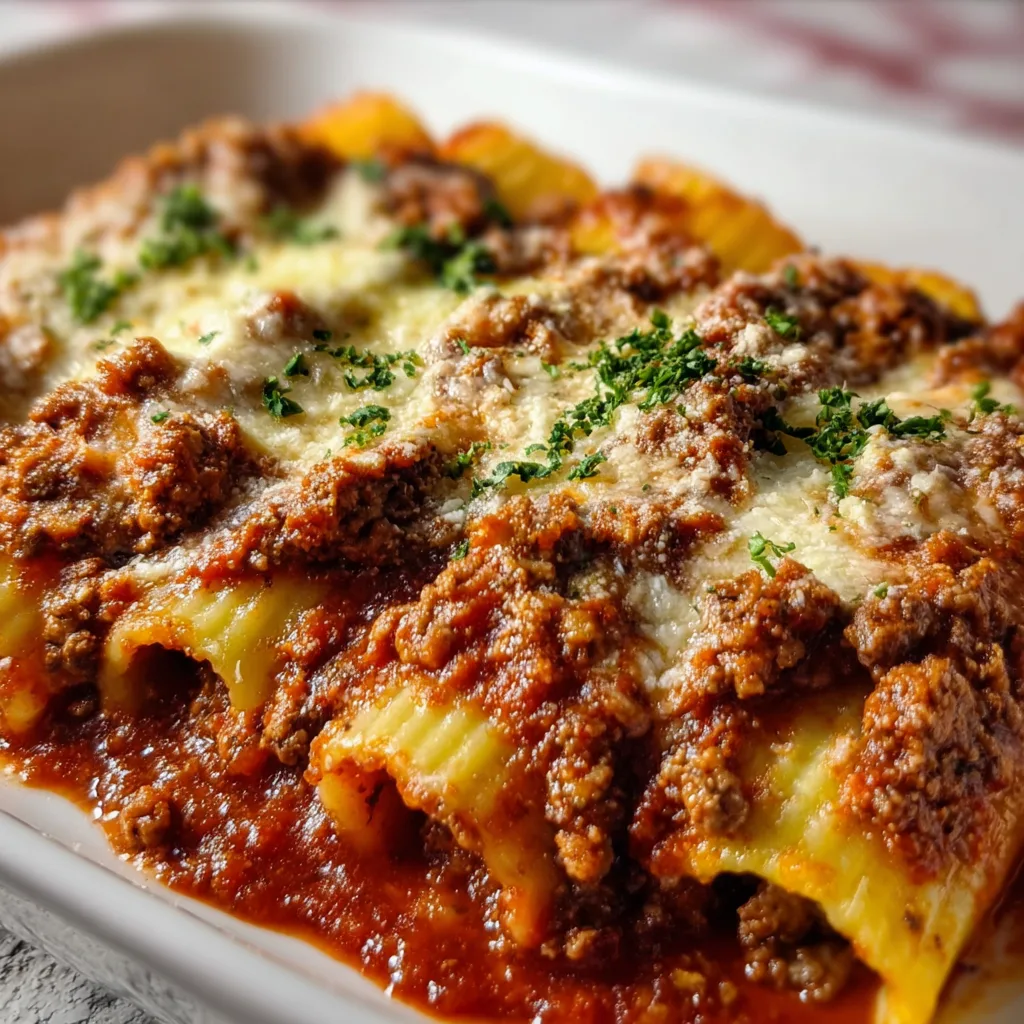
Stuffed Manicotti with Rich Meat Sauce has been my family’s comfort food ritual for as long as I can remember. There’s something magical about those tender pasta tubes filled with creamy ricotta and smothered in a robust meat sauce that makes everyone fall silent at the dinner table – except for the occasional “mmm” of appreciation. I still remember the first time my grandmother taught me to pipe the filling, her hands guiding mine with gentle patience. Today, I’m sharing my version that balances traditional flavors with modern techniques for a show-stopping pasta dish that’s actually simpler than it looks.
Table of Contents
Recipe
Print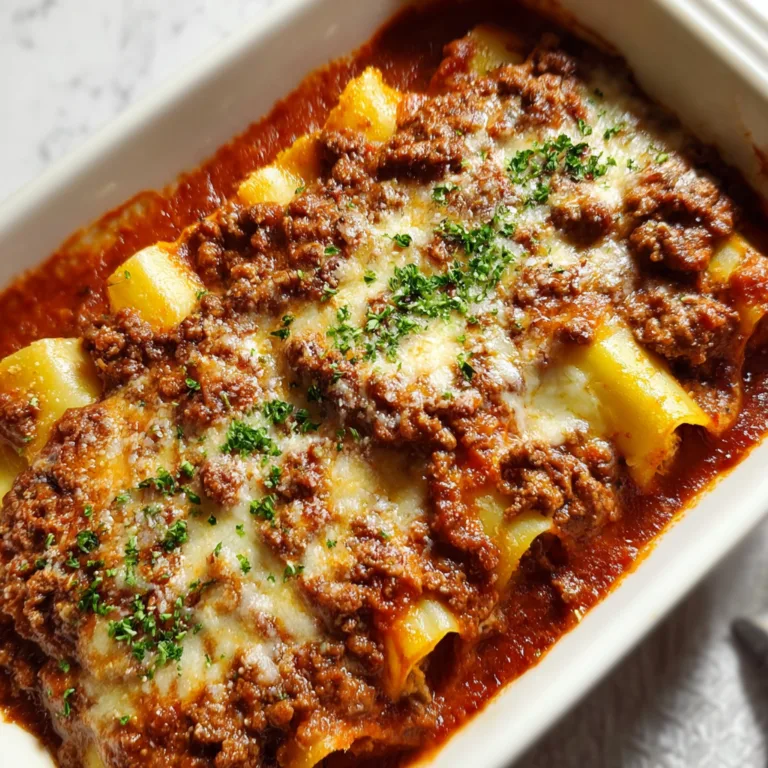
Stuffed Manicotti with Rich Meat Sauce
This stuffed manicotti with rich meat sauce is a comforting, cheesy, and hearty Italian classic. Tender pasta tubes are filled with a creamy ricotta mixture, nestled in savory beef marinara, and topped with melty mozzarella. It’s the ultimate baked pasta dish for family dinners or special occasions.
- Total Time: 1 hour
- Yield: 5 servings 1x
Ingredients
🟡 For the Filling:
1 (15 oz) container ricotta cheese
1 1/2 cups shredded mozzarella cheese
1/2 cup grated Parmesan cheese
1 egg
2 tbsp chopped parsley
Salt and pepper to taste
🟡 For the Meat Sauce:
1 lb ground beef
1 small onion, diced
2 cloves garlic, minced
1 (24 oz) jar marinara sauce
1/2 tsp Italian seasoning
Salt and pepper to taste
🟡 For Assembly:
8–10 manicotti shells, cooked and drained
1/2 cup shredded mozzarella (for topping)
Extra parsley or basil (for garnish)
Instructions
1. Preheat oven to 375°F (190°C).
2. In a skillet, cook ground beef and onion over medium heat until browned. Drain fat.
3. Add garlic and cook 1 minute. Stir in marinara sauce, Italian seasoning, salt, and pepper. Simmer for 10 minutes.
4. In a bowl, mix ricotta, mozzarella, Parmesan, egg, parsley, salt, and pepper until smooth.
5. Transfer filling to a piping bag or spoon it carefully into cooked manicotti shells.
6. Spread half the meat sauce into a 9×13-inch baking dish. Arrange stuffed shells on top.
7. Pour remaining sauce over the manicotti and sprinkle with extra mozzarella.
8. Cover with foil and bake for 25 minutes. Uncover and bake an additional 10 minutes until bubbly and golden.
9. Garnish with chopped parsley or basil before serving.
Notes
Cook shells al dente—they’ll finish cooking in the oven.
You can use ground Italian sausage instead of beef for extra flavor.
Make ahead: assemble and refrigerate overnight or freeze unbaked for up to 2 months.
- Prep Time: 25 minutes
- Cook Time: 35 minutes
- Category: Main Course
- Method: Baking
- Cuisine: Italian
Nutrition
- Serving Size: 2 manicotti
- Calories: 510
- Sugar: 6g
- Sodium: 680mg
- Fat: 27g
- Saturated Fat: 14g
- Unsaturated Fat: 11g
- Trans Fat: 0g
- Carbohydrates: 38g
- Fiber: 3g
- Protein: 30g
- Cholesterol: 85mg
Keywords: stuffed manicotti, baked pasta with meat sauce, classic Italian pasta recipe
Why You’ll Love This Stuffed Manicotti with Rich Meat Sauce
Perfect Balance of Flavors and Textures
This recipe creates the most incredible harmony between creamy, cheesy filling and robust, savory meat sauce. The pasta shells maintain just the right texture—tender but with a pleasant bite—while the interior remains lusciously soft. I’ve carefully balanced the seasoning so the garlic and herbs complement rather than overwhelm the natural flavors of the cheese and meat. The sauce develops a deep richness as it simmers, with tomatoes providing bright acidity against the hearty ground beef. It’s that perfect comfort food that feels both indulgent and somehow nostalgic, even if you’ve never had it before.
Make-Ahead Convenience
One of the things I adore about this stuffed manicotti is its incredible flexibility for busy schedules. You can prepare the components separately up to two days ahead—make the sauce on Sunday, prepare the filling on Monday, and assemble Tuesday for dinner. The flavors actually improve as they meld together in the refrigerator! You can also fully assemble the dish, cover it tightly, and refrigerate for up to 24 hours before baking. This makes it perfect for entertaining or family gatherings where I want to enjoy my guests rather than be stuck in the kitchen. The dish even freezes beautifully for up to three months.
Essential Tips & Tricks
Perfecting the Pasta
The secret to perfectly cooked manicotti starts with slightly undercooking the pasta shells. I boil them for just 5-6 minutes until they’re pliable but still firm—they’ll finish cooking in the oven. Always add a generous tablespoon of salt to your pasta water; it’s your only chance to season the pasta itself. After draining, I immediately lay the tubes on a lightly oiled baking sheet to prevent sticking. For filling, I’ve found that using a piping bag (or zip-top bag with the corner snipped) makes the process infinitely easier than using a spoon. Fill from both ends to ensure the center is packed with that luscious cheese mixture.
Building Flavor in the Sauce
The foundation of this dish is the rich, aromatic sauce that transforms simple ingredients into something magical. I always start by sautéing finely diced onions until they’re translucent before adding the garlic—this prevents burning and creates a sweeter flavor base. When browning the meat, resist the urge to stir constantly; letting it develop a caramelized crust adds incredible depth. A splash of red wine or balsamic vinegar deglazes the pan and lifts all those flavorful bits into your sauce. For an extra dimension, I sometimes add a Parmesan rind while the sauce simmers—just remember to remove it before serving!
Serving Ideas & Creative Variations
Perfect Pairings
This stuffed manicotti deserves thoughtful accompaniments to create a memorable meal experience. I love serving it with a crisp Caesar salad—the bright, tangy dressing cuts through the richness of the pasta beautifully. For bread, try garlic knots or a crusty Italian loaf to soak up every last bit of that precious sauce. If you’re hosting a dinner party, start with Roasted Brussels Sprouts with Balsamic Pecans for an elegant first course. For wine, a medium-bodied Sangiovese or Chianti complements the tomato sauce without overwhelming the delicate cheese filling. Finish with a simple dessert like lemon sorbet to cleanse the palate.
Exciting Flavor Twists
While the classic recipe is divine, I love experimenting with creative variations that maintain the soul of the dish. Try swapping half the ground beef for Italian sausage for a more complex flavor profile. For a vegetarian version, replace the meat with a mixture of sautéed mushrooms, spinach, and bell peppers—the umami from the mushrooms provides wonderful depth. The cheese filling can be customized too; add fresh herbs like basil and thyme, fold in some pesto, or introduce a bit of heat with red pepper flakes. For a seafood twist, try a filling with crab, shrimp, and ricotta, paired with a light tomato sauce.
Storage & Troubleshooting Guide
Proper Storage Methods
To maintain the quality and safety of leftover stuffed manicotti, allow it to cool completely before refrigerating. Transfer portions to airtight containers and store in the refrigerator for up to 4 days. For freezing, I recommend portioning into individual servings in freezer-safe containers—this makes reheating much more convenient. When properly stored, frozen manicotti keeps well for up to 3 months. To reheat refrigerated portions, sprinkle with a tablespoon of water before microwaving to prevent drying, or cover with foil and warm in a 350°F oven until heated through. For frozen portions, thaw overnight in the refrigerator before reheating.
Solving Common Issues
Even experienced cooks encounter challenges with stuffed pasta. If your manicotti shells are splitting during filling, they might be overcooked—try reducing the boiling time by a minute. For shells that tear despite careful handling, create a “patchwork” effect in your baking dish by layering the broken pieces with filling and sauce. If your sauce is too watery after baking, let the dish rest for 15-20 minutes before serving; this allows the pasta to absorb excess moisture and the sauce to thicken. For filling that seems bland, boost flavor with extra Parmesan, fresh herbs, or a pinch of nutmeg—these small additions make a remarkable difference.
Frequently Asked Questions
Can I make Stuffed Manicotti with Rich Meat Sauce ahead of time?
Yes! You can assemble it up to 24 hours in advance and refrigerate. Just add 10-15 minutes to the baking time if cooking directly from the refrigerator.
Can I freeze this dish?
Absolutely. Freeze before or after baking for up to 3 months. Thaw overnight in the refrigerator before reheating at 350°F until hot throughout.
What can I substitute for ricotta cheese?
Cottage cheese works well when drained and blended smooth. For a richer option, try mascarpone mixed with a bit of Parmesan.
How do I prevent the pasta from getting mushy?
Undercook the manicotti by about 2 minutes during boiling, and don’t oversoak them in sauce before baking.
Can I make this vegetarian?
Yes! Replace the meat with sautéed mushrooms, spinach, and bell peppers, keeping the same seasonings for depth of flavor.
Final Thoughts
This Stuffed Manicotti with Rich Meat Sauce has become more than just a recipe in my kitchen—it’s a tradition that brings people together. The way eyes light up when that bubbling dish hits the table makes all the effort worthwhile. I love how versatile it is, adapting to whatever ingredients I have on hand while maintaining its comforting essence. Whether you’re cooking for a special occasion or simply craving something heartwarming, I hope this recipe brings as much joy to your table as it has to mine. Find more inspiration for your next family feast on Pinterest.